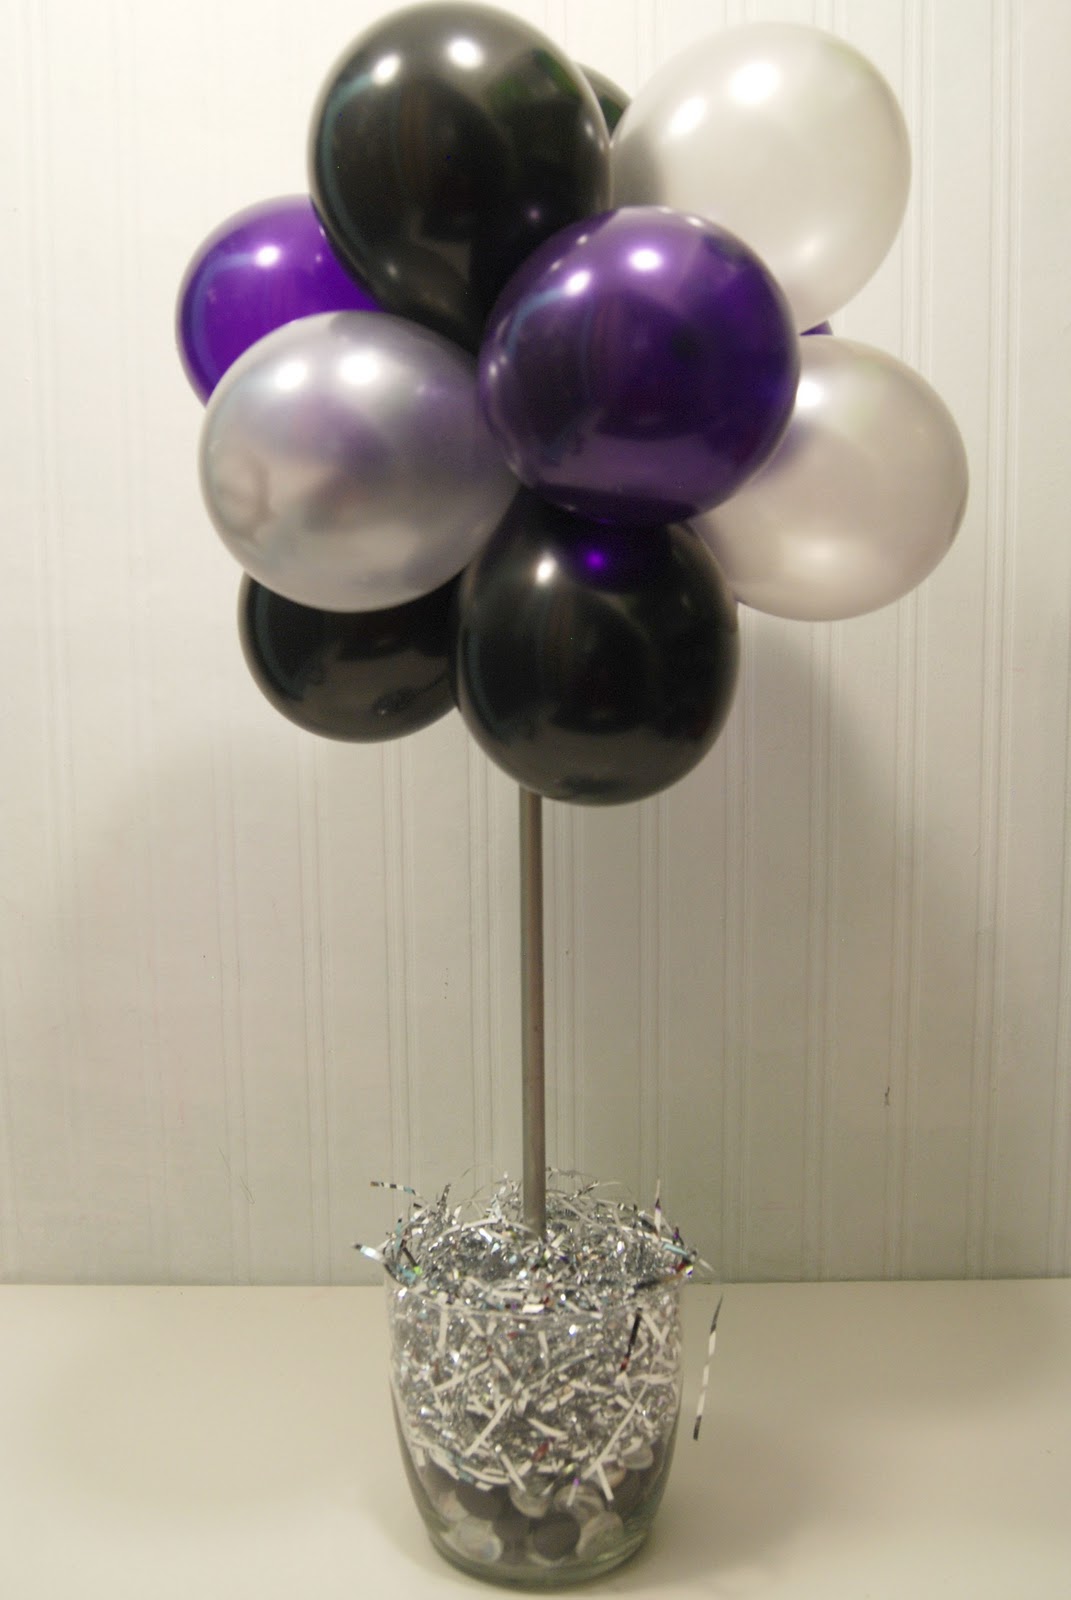
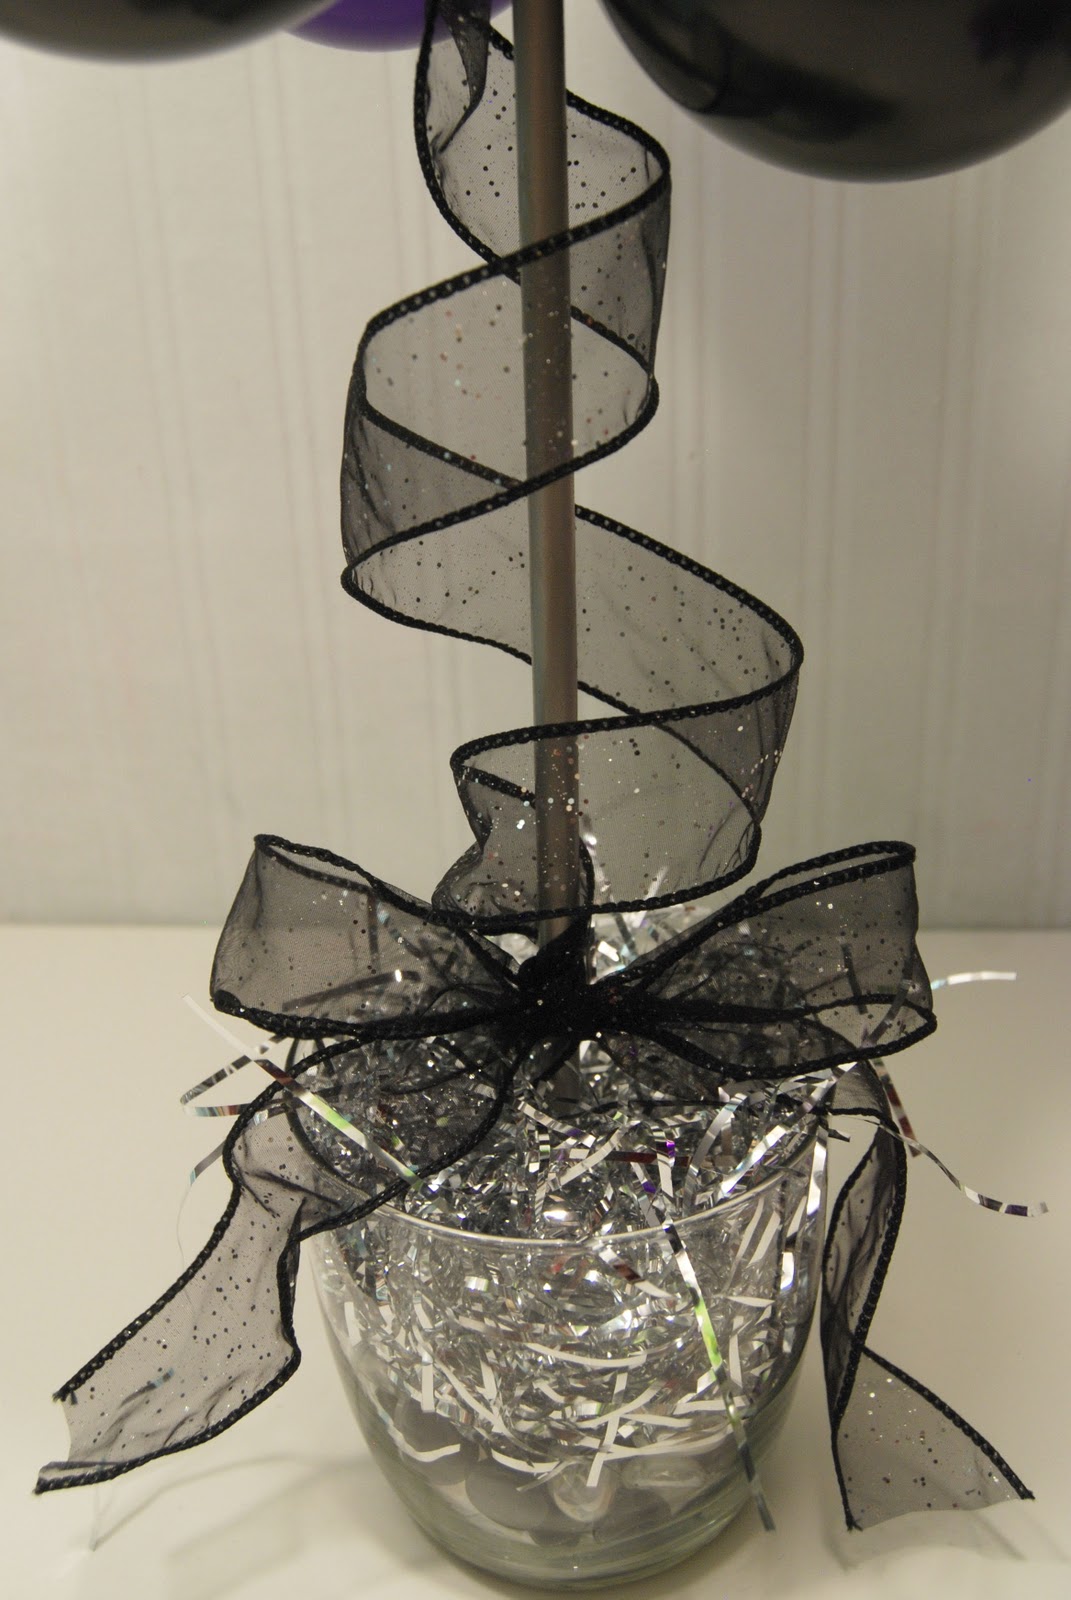
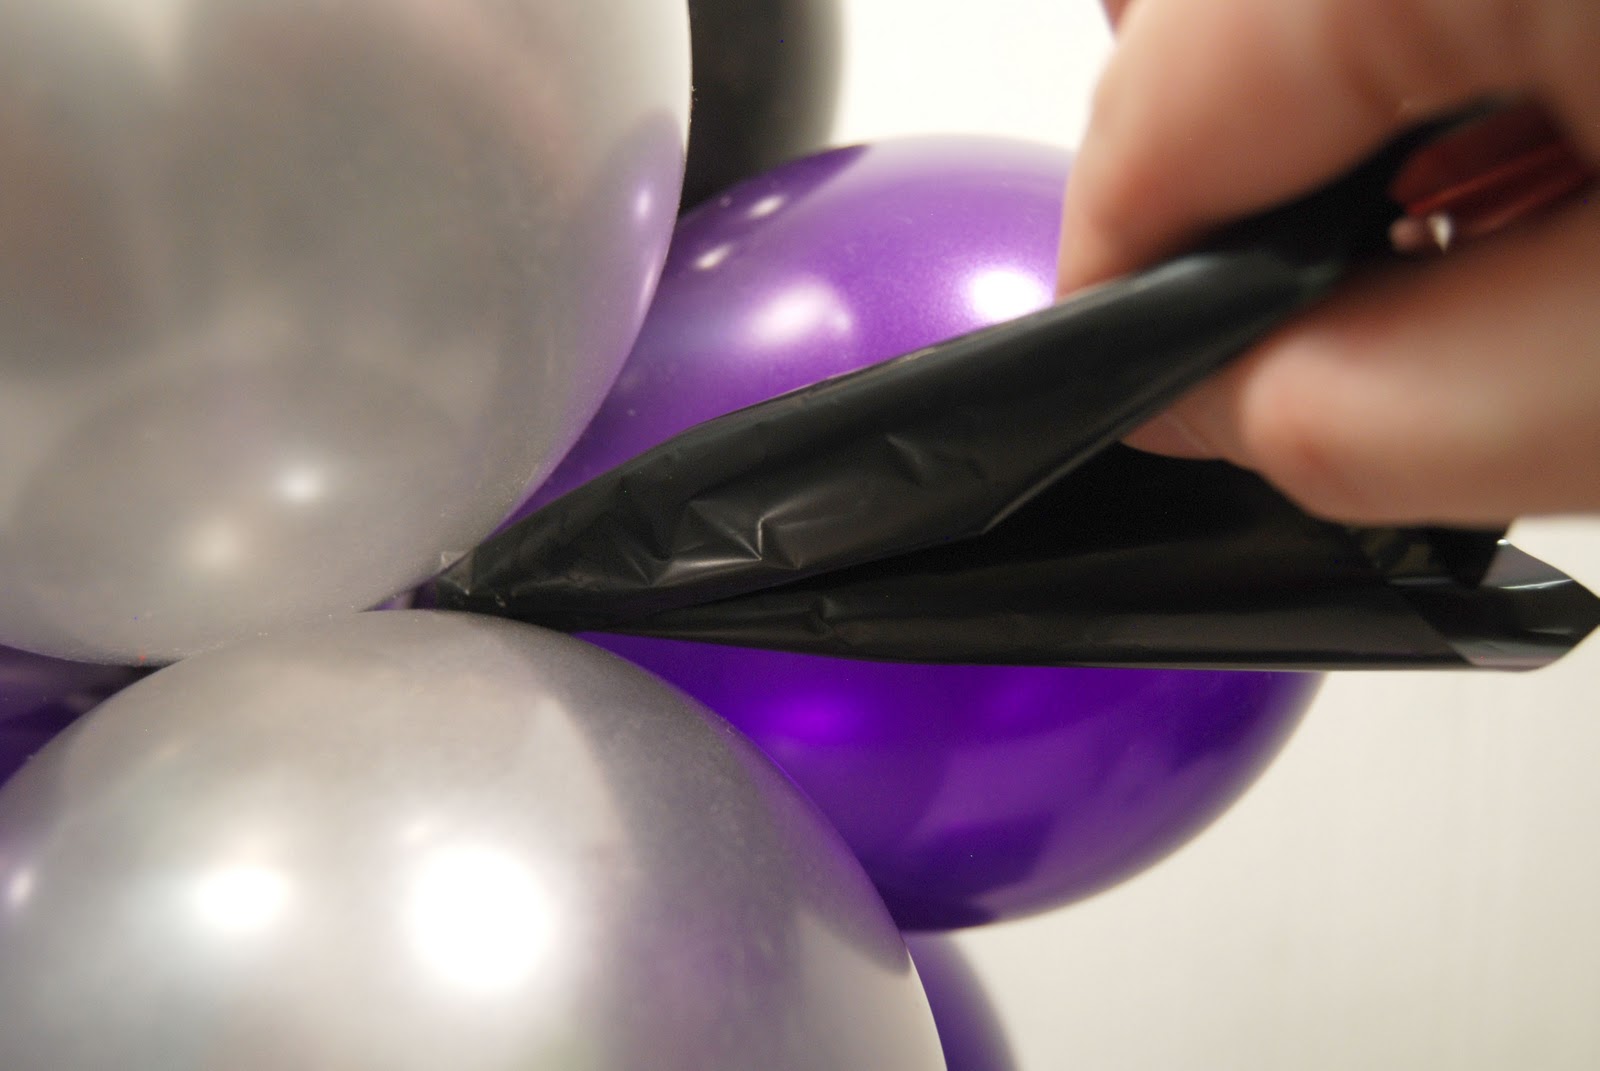
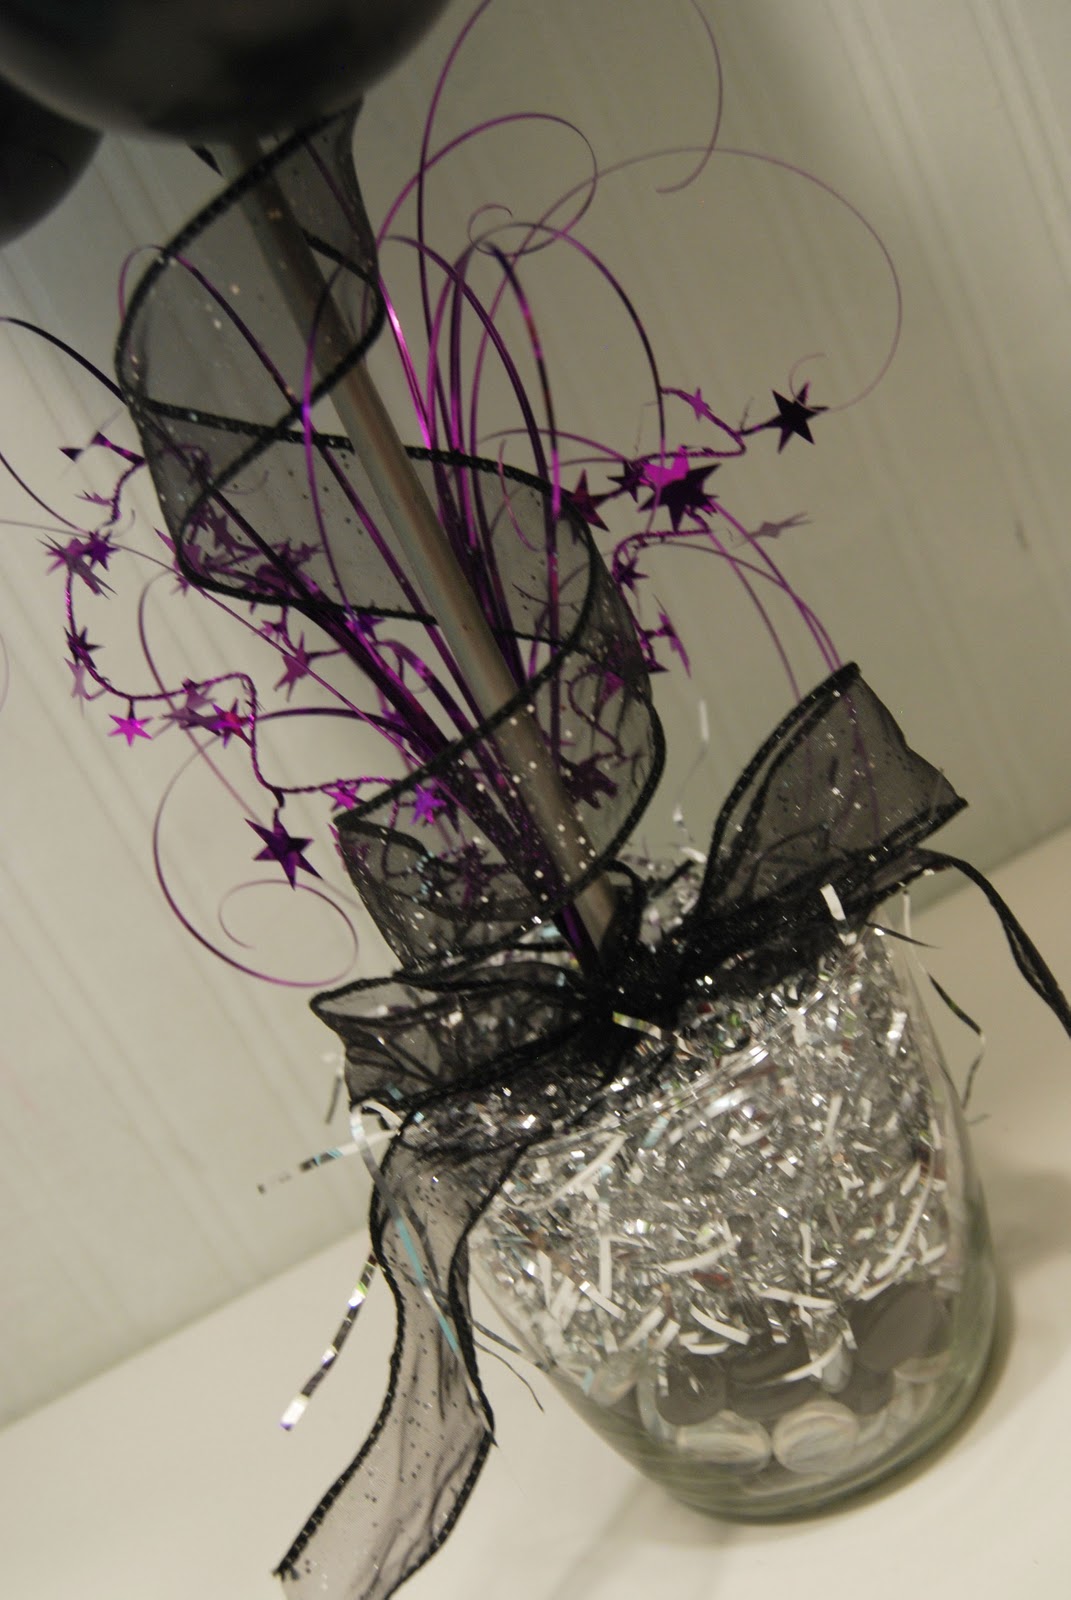
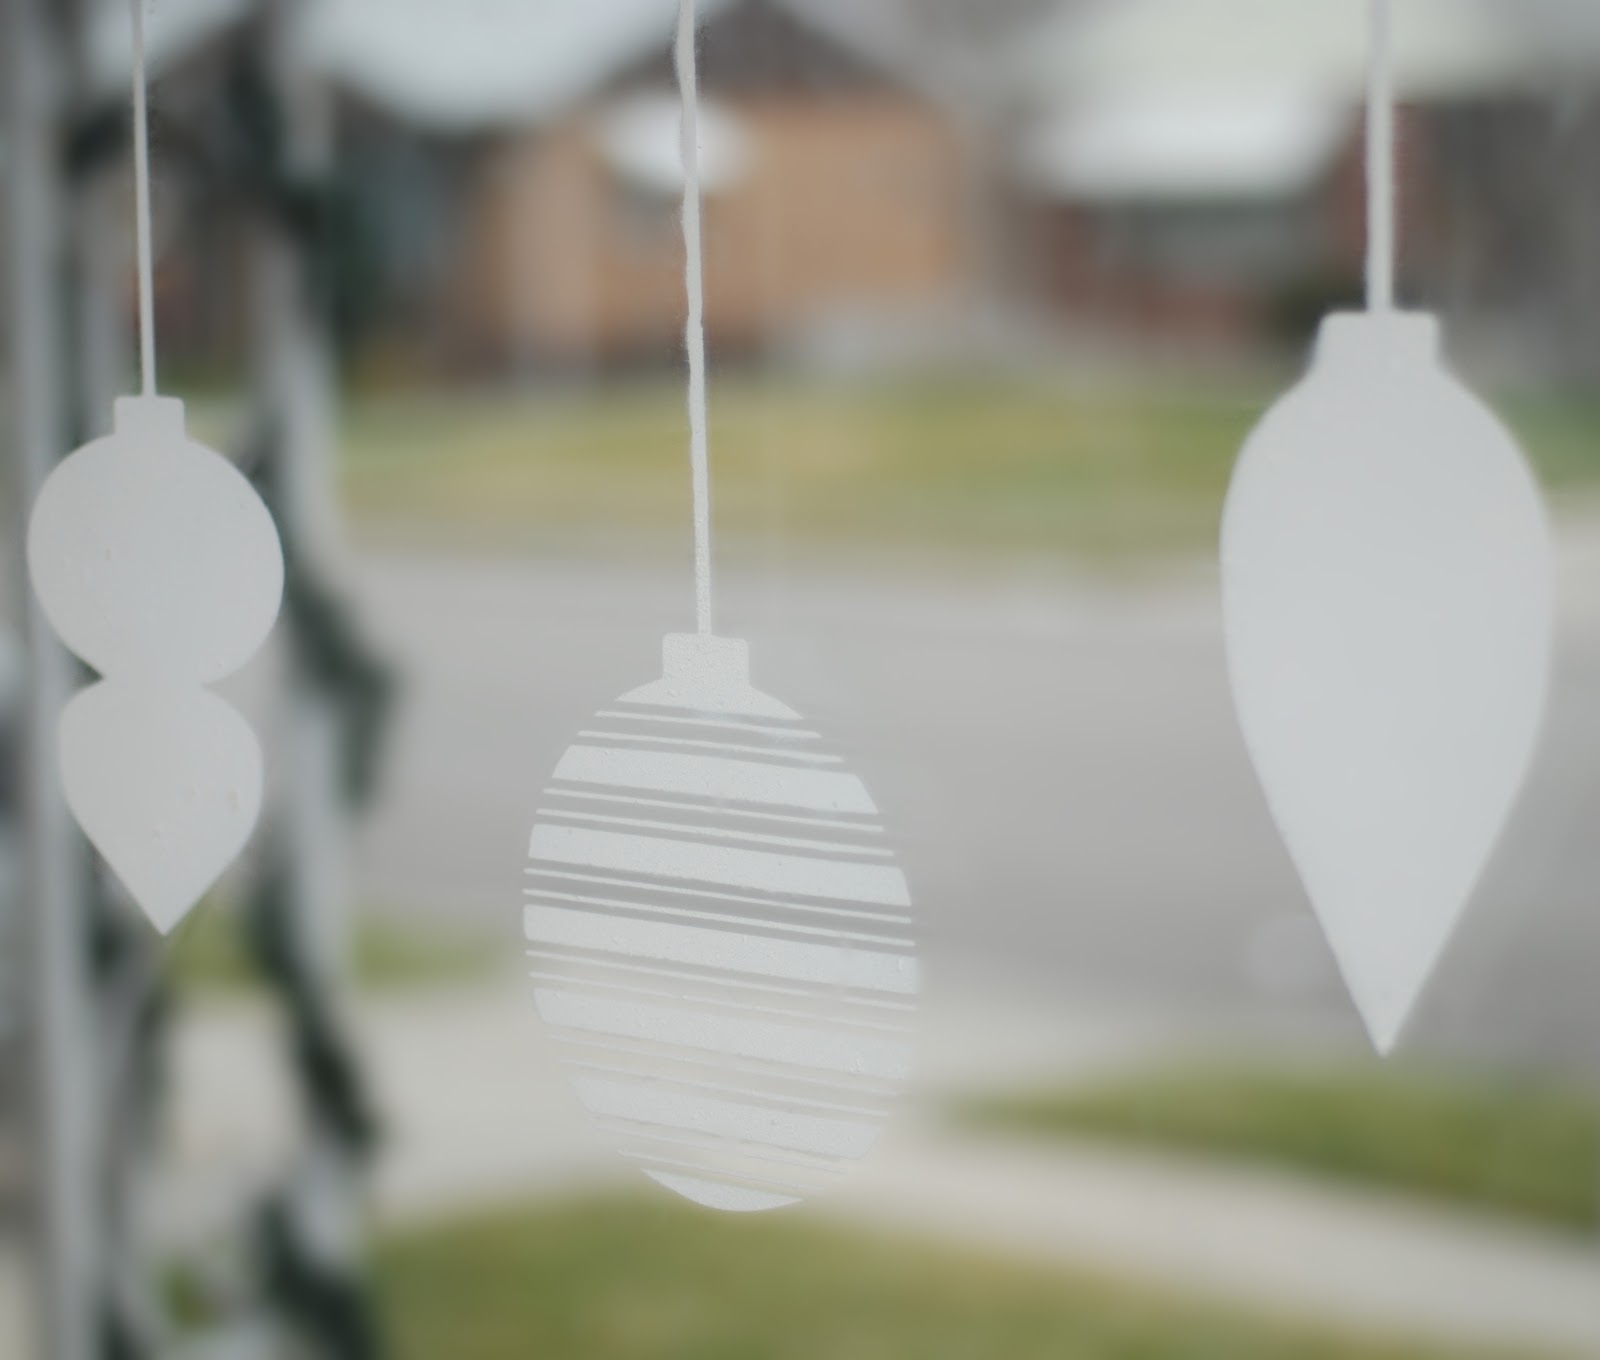
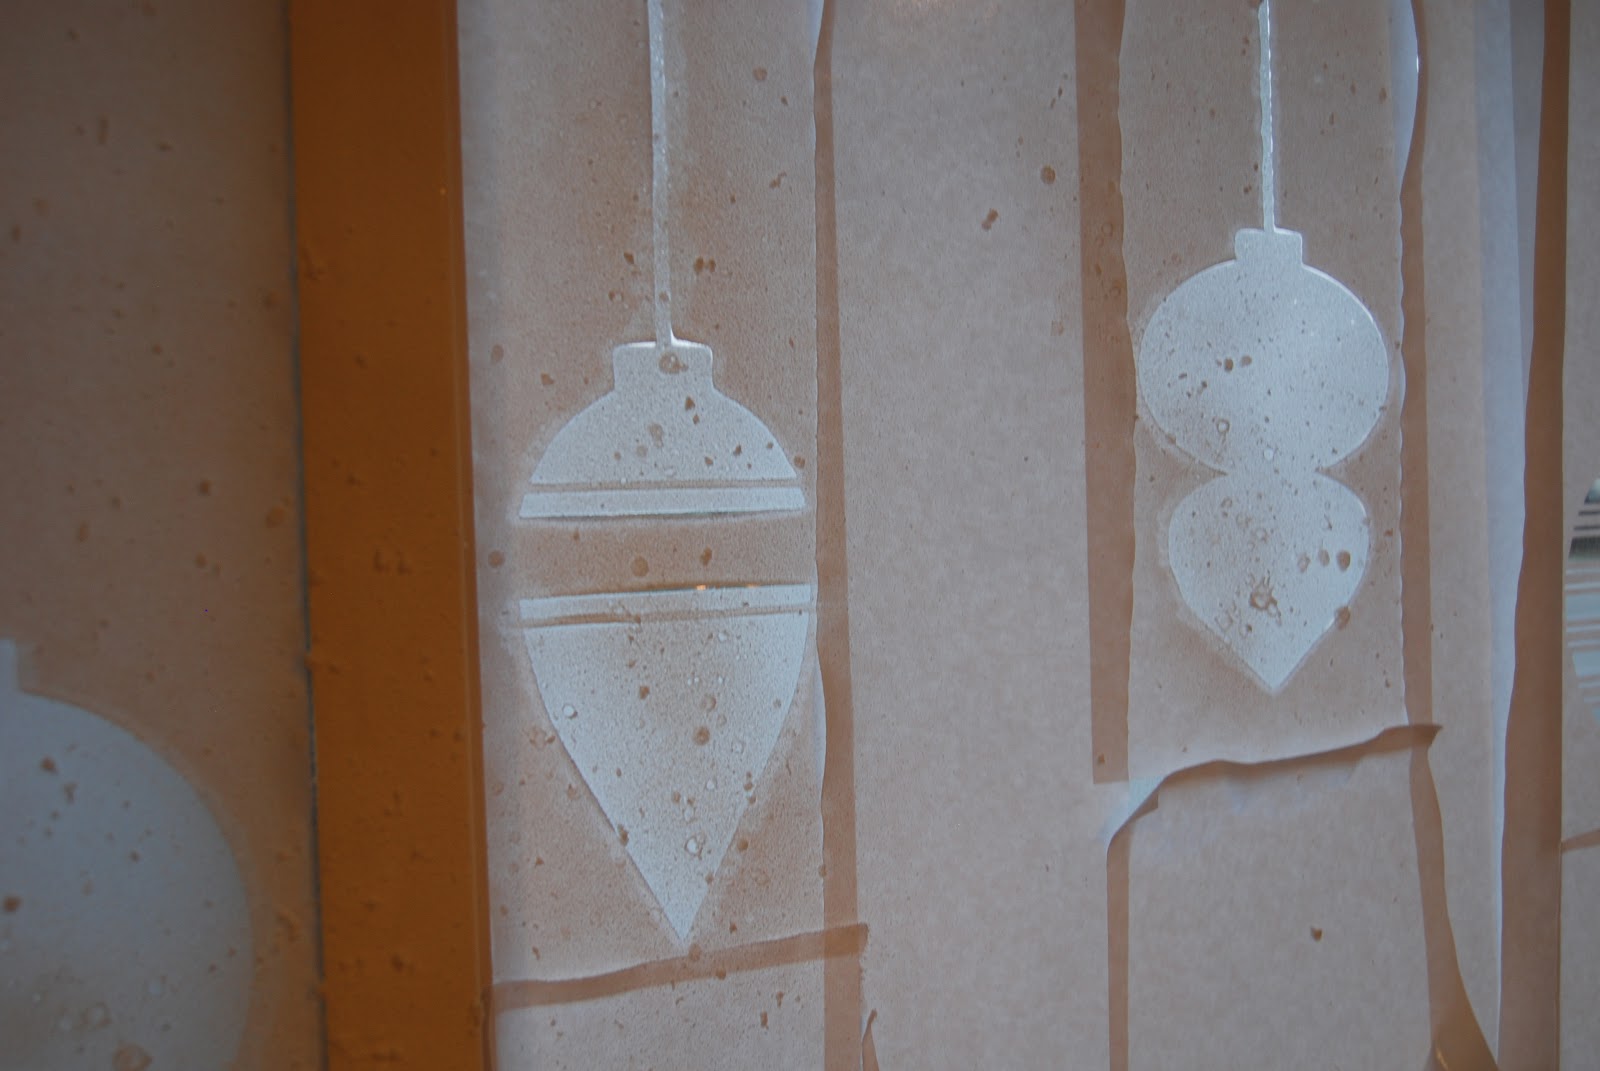
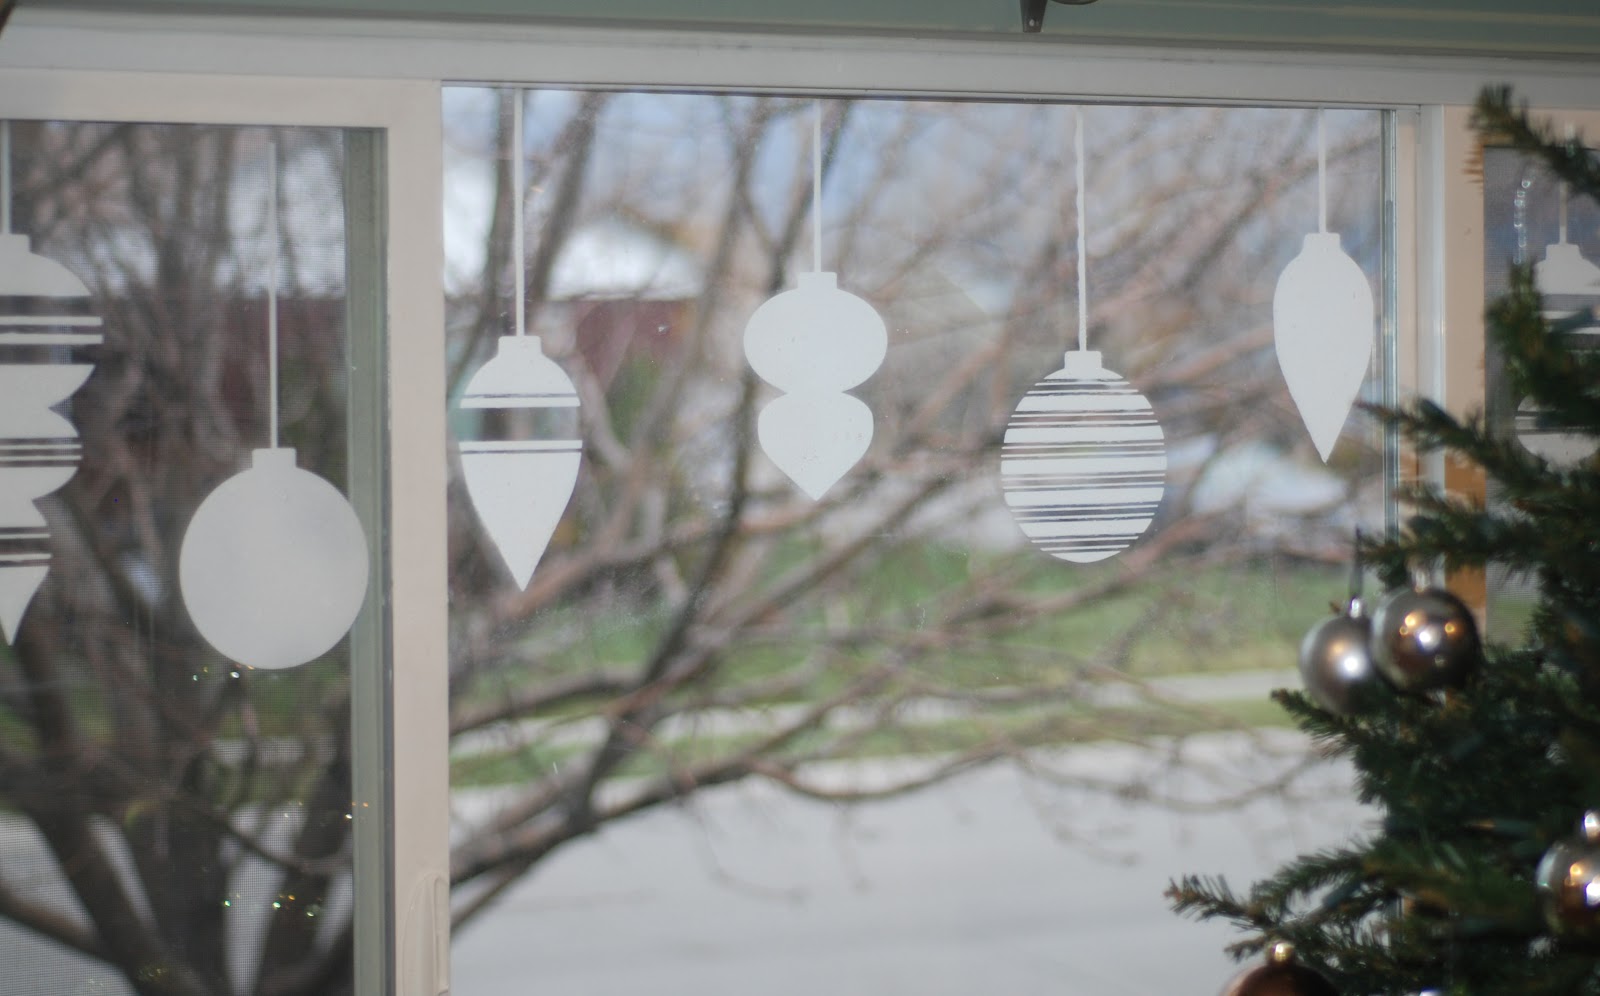
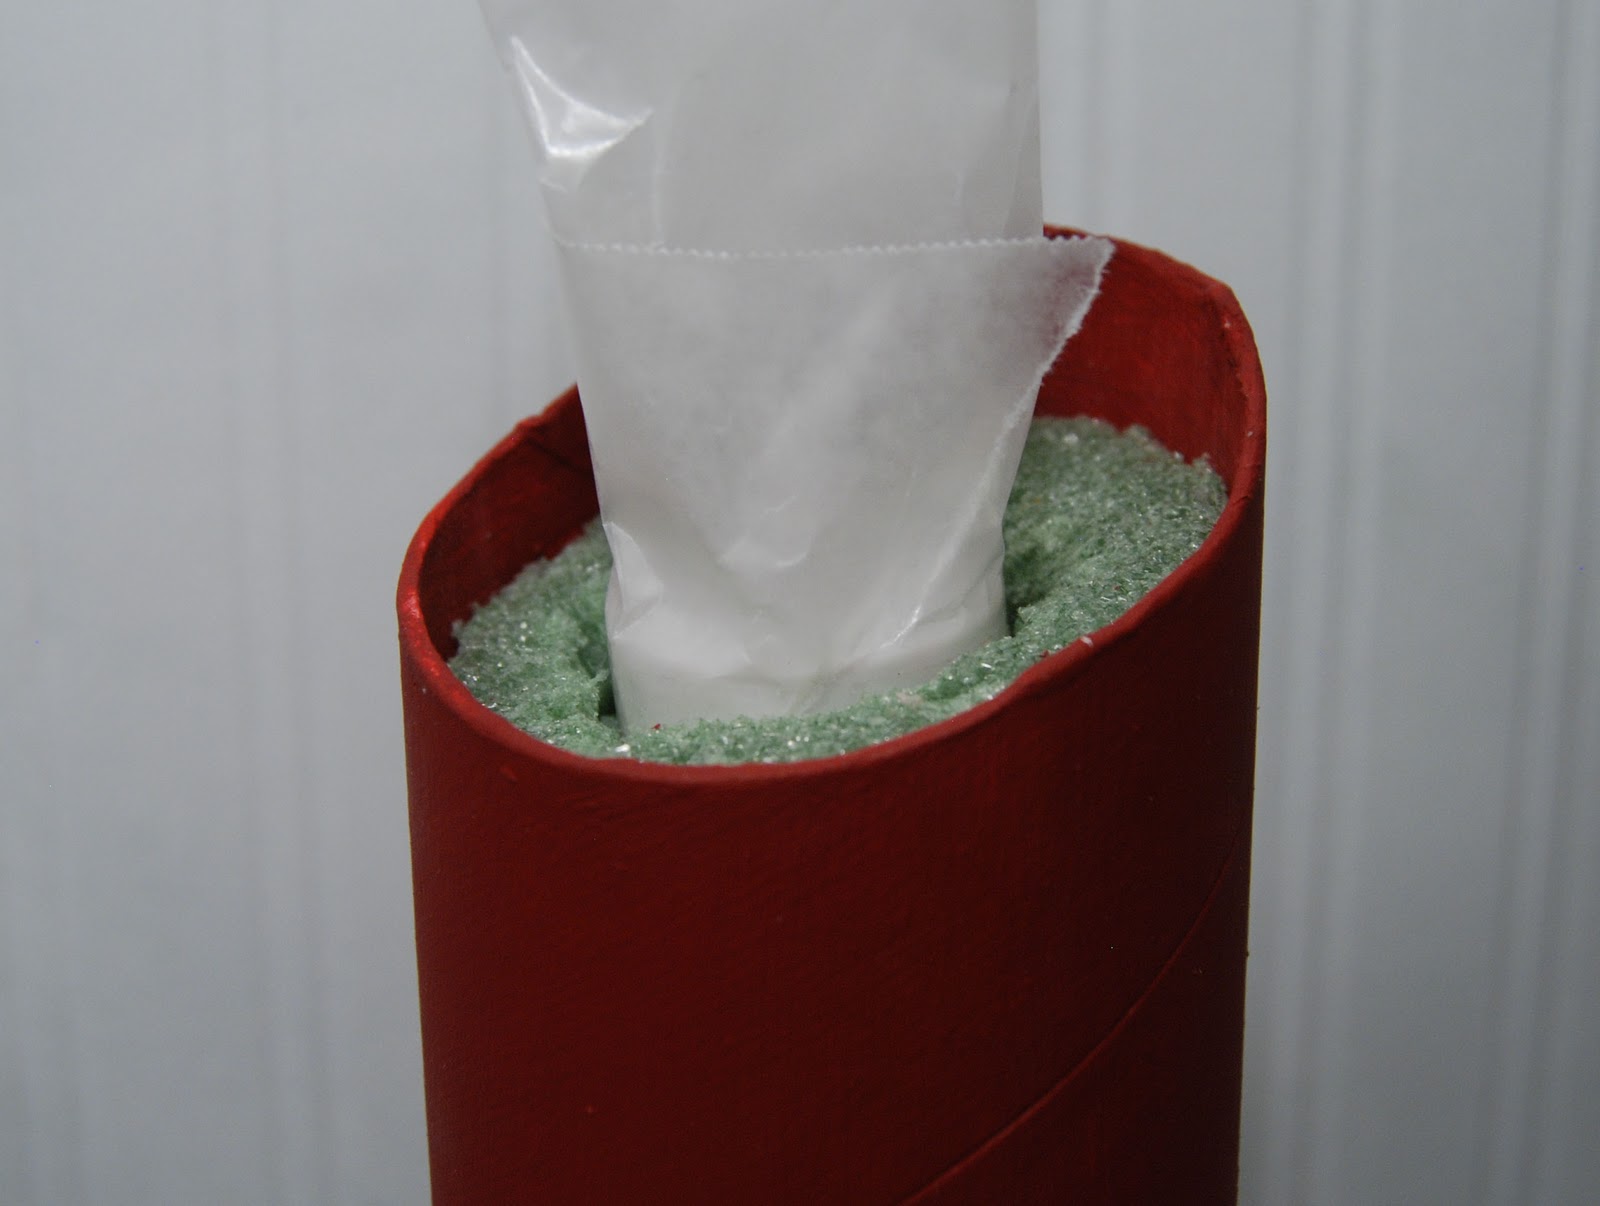
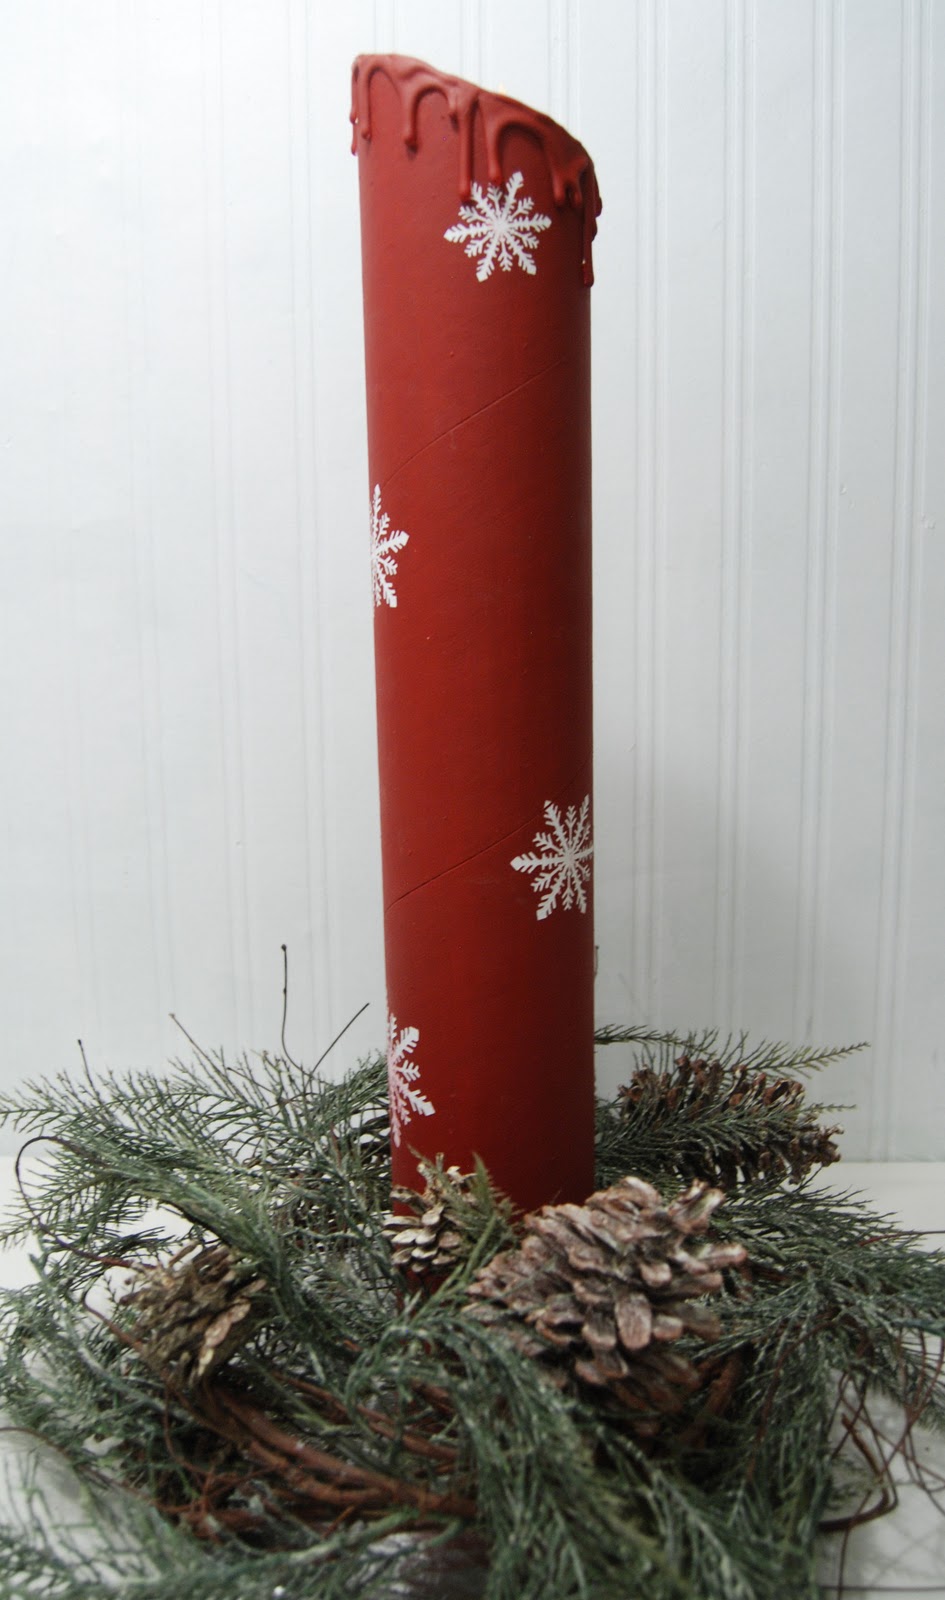
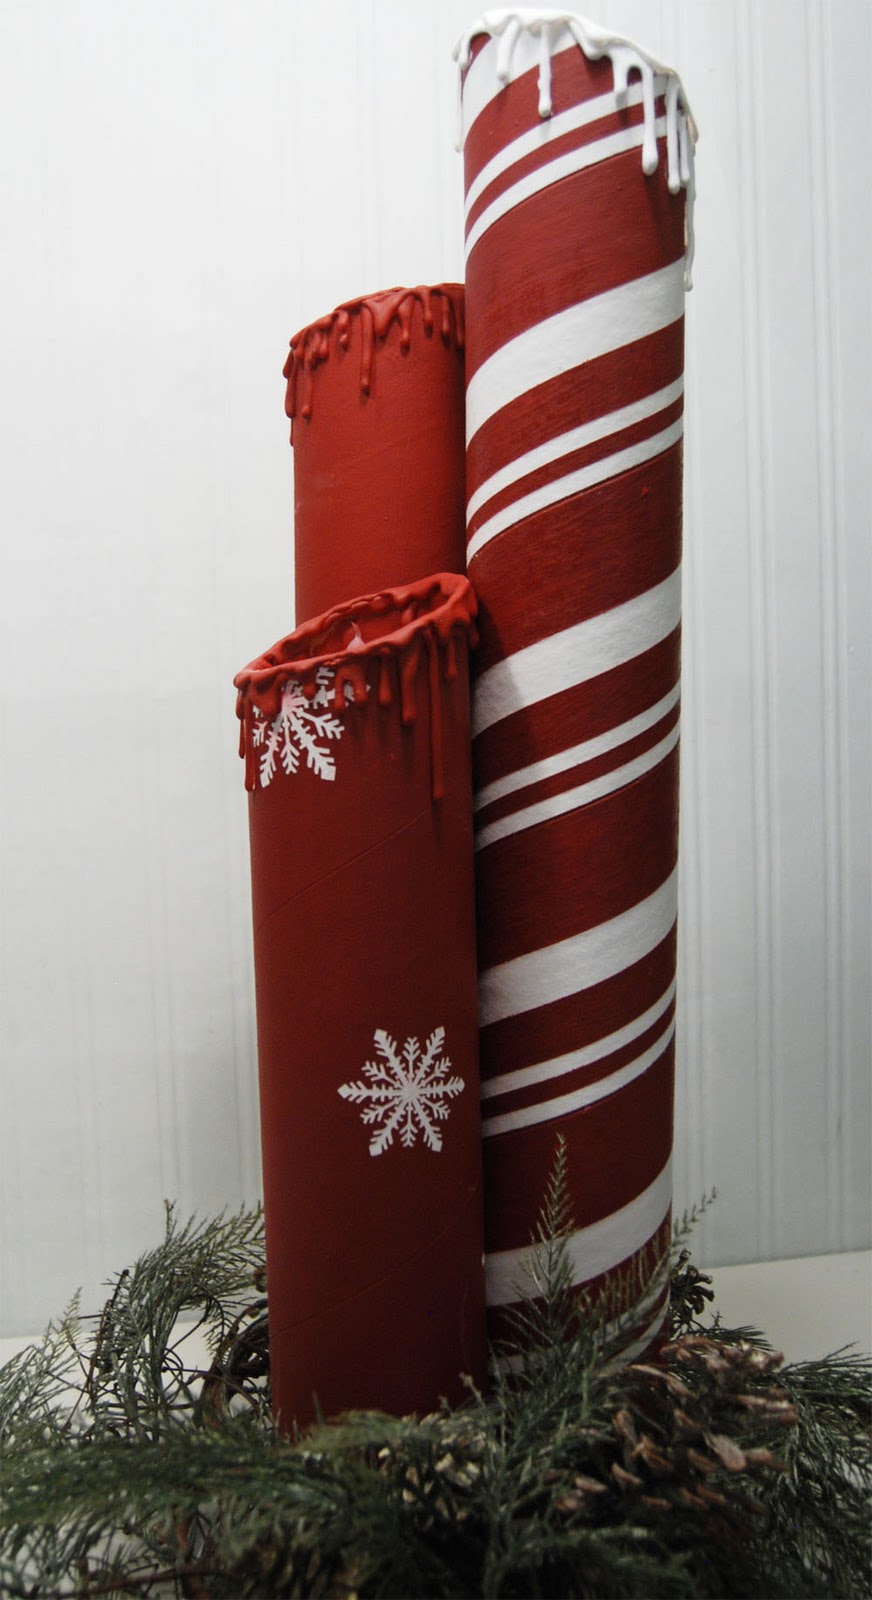
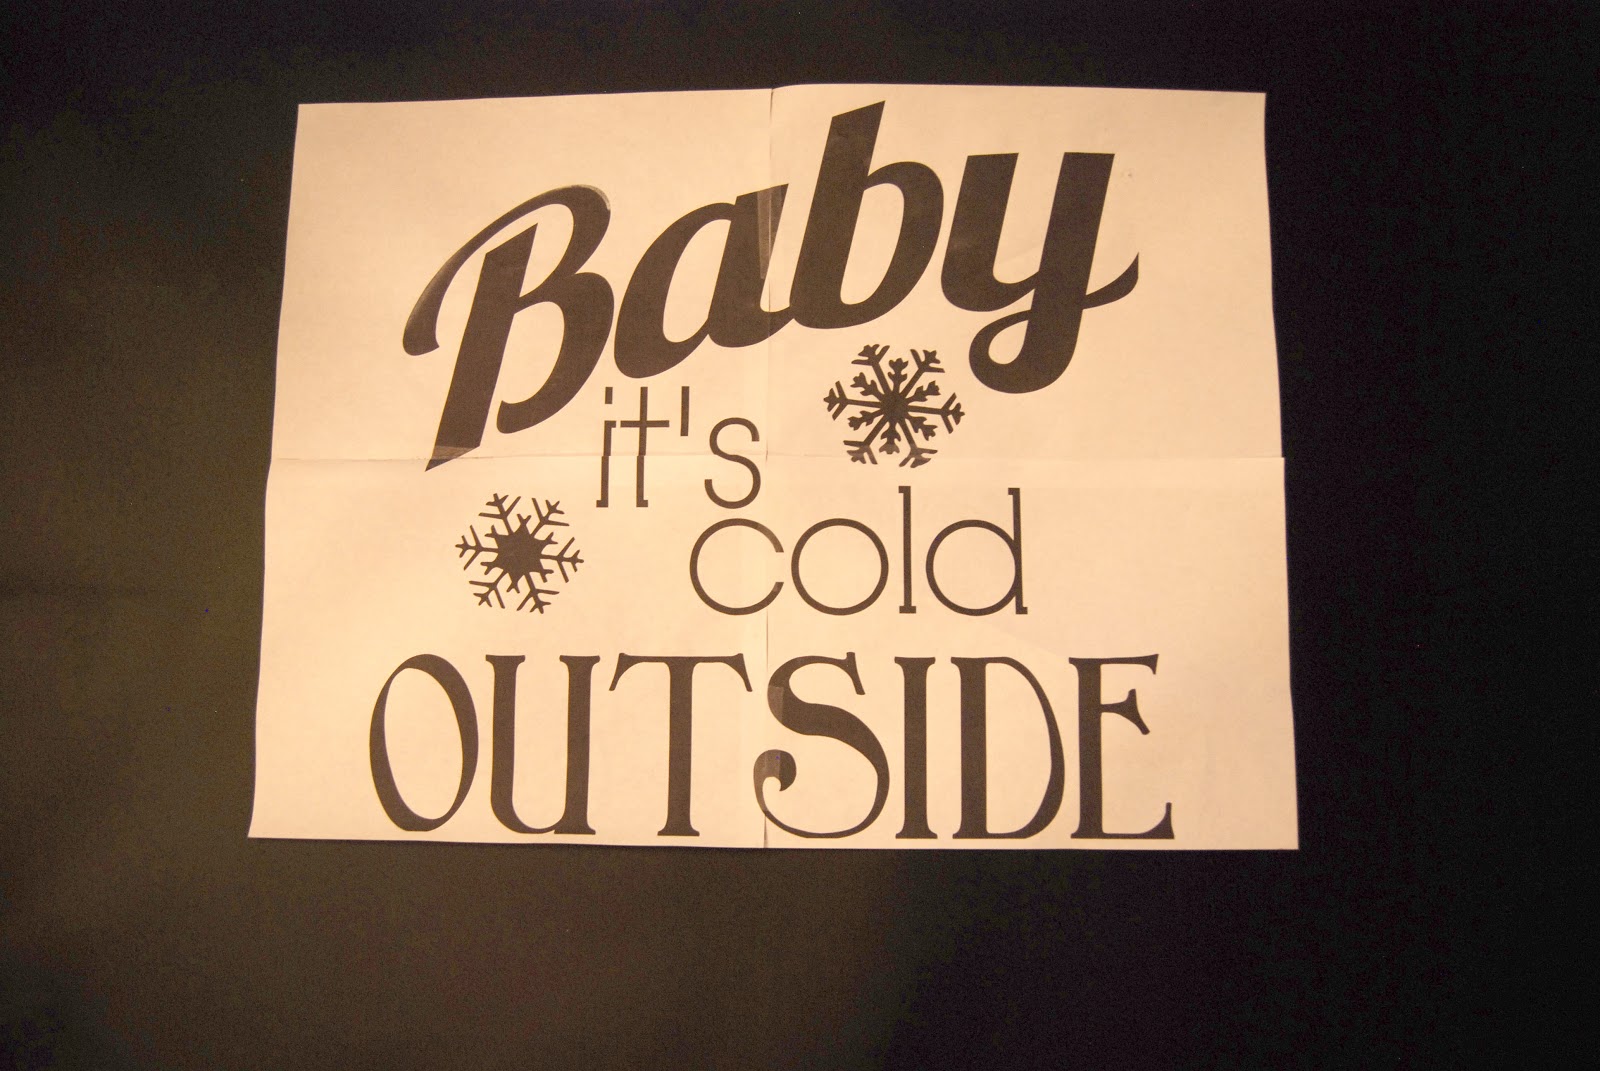
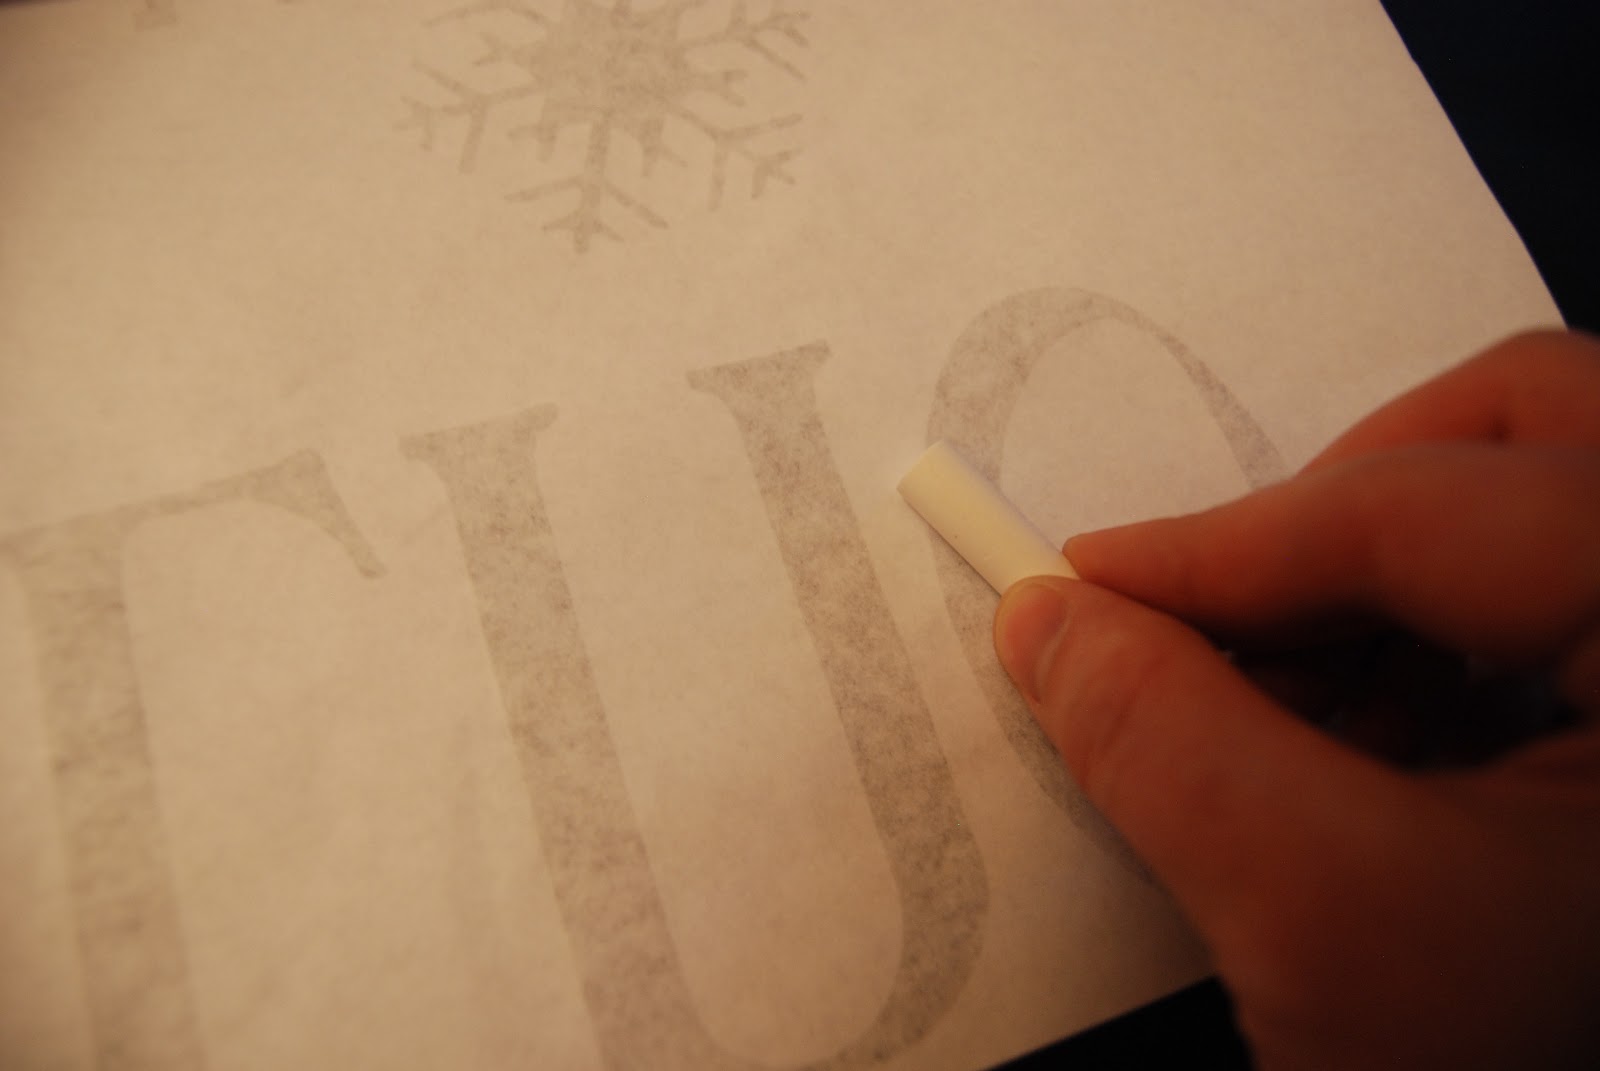
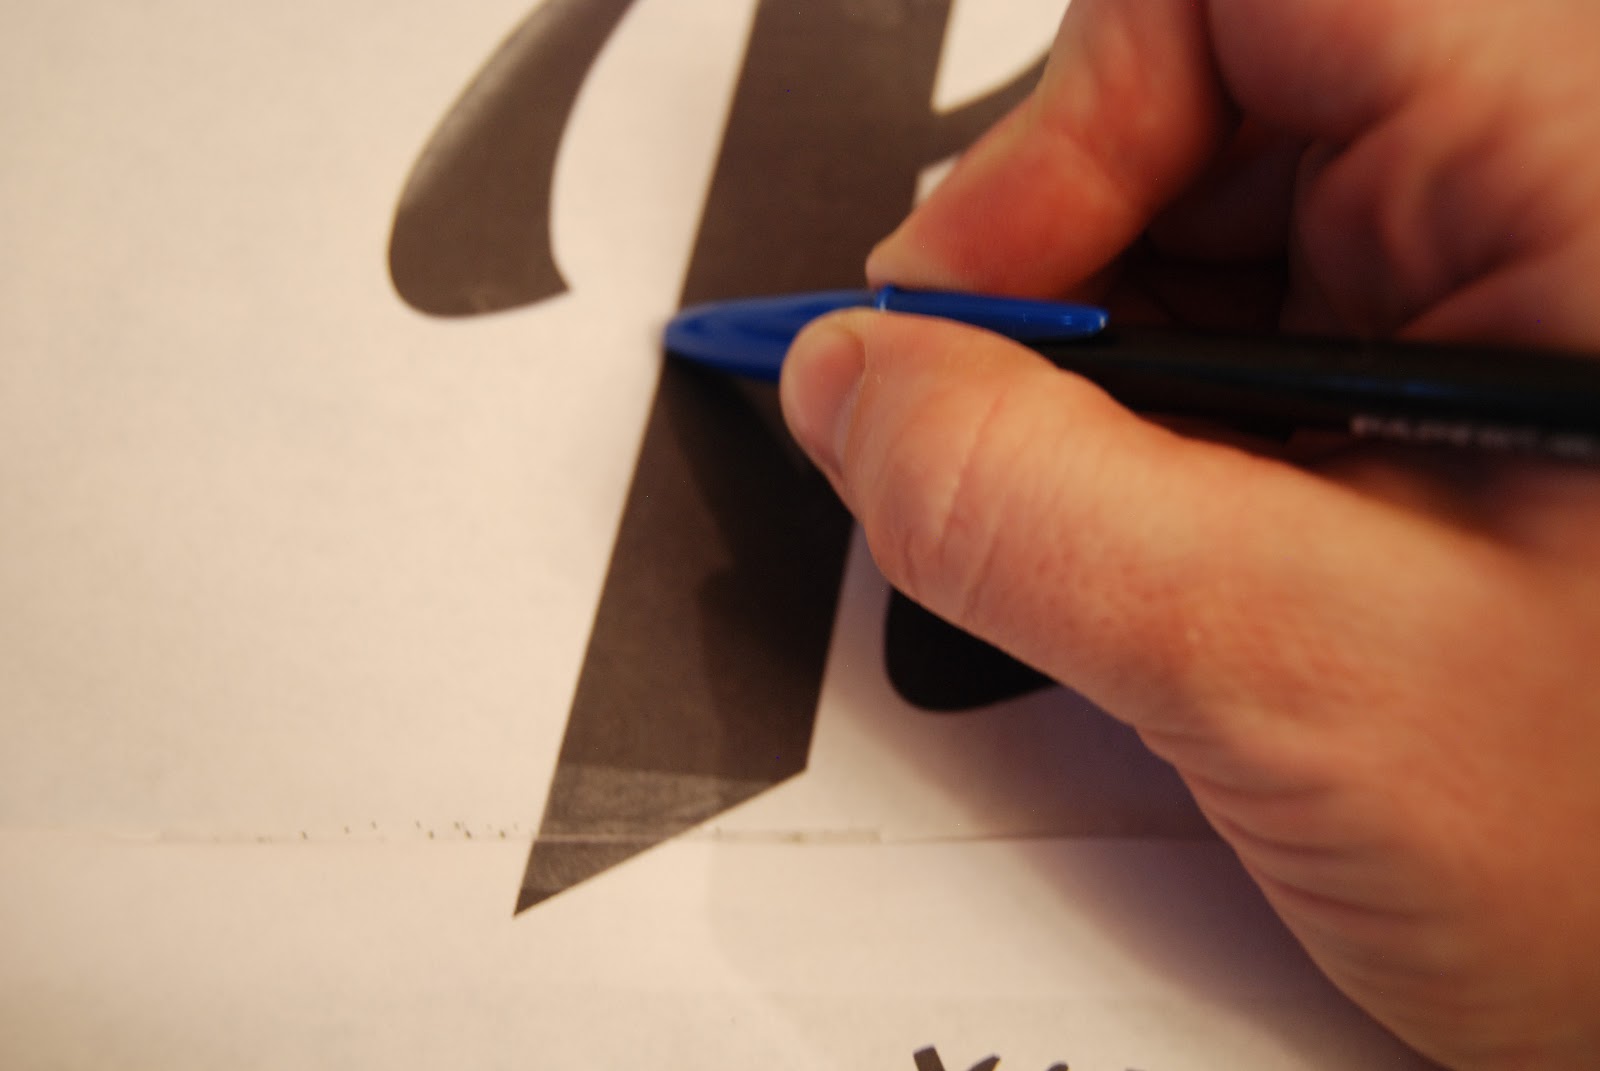
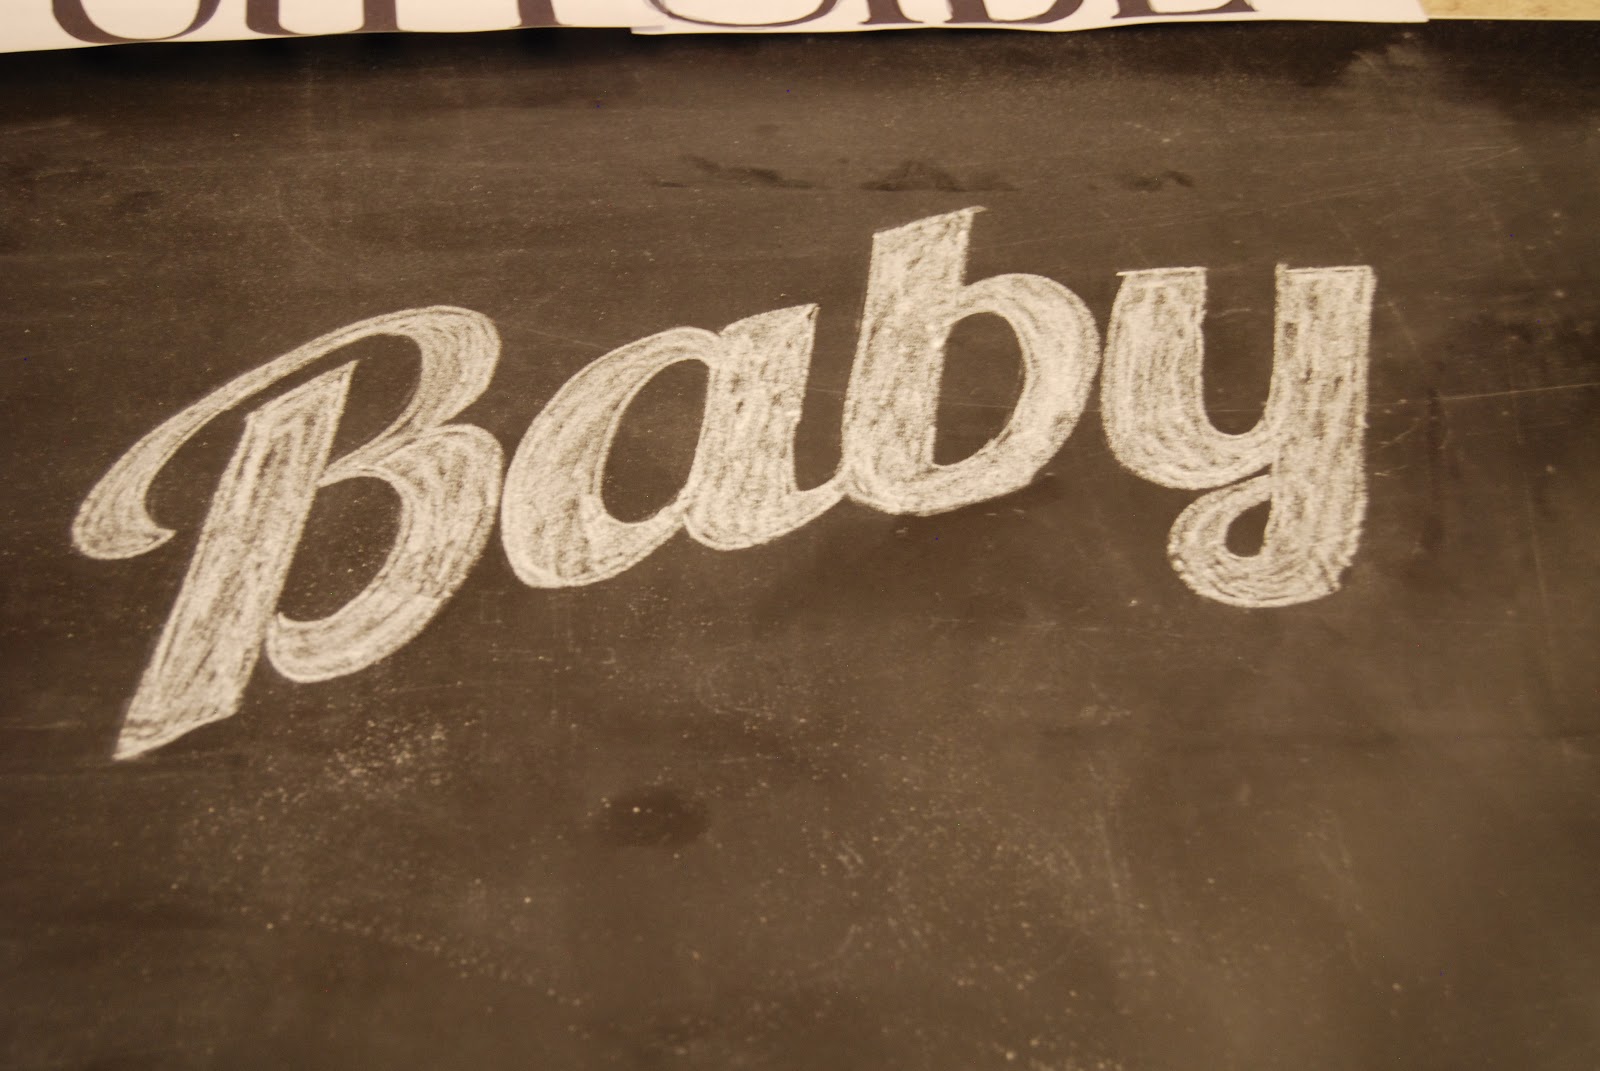
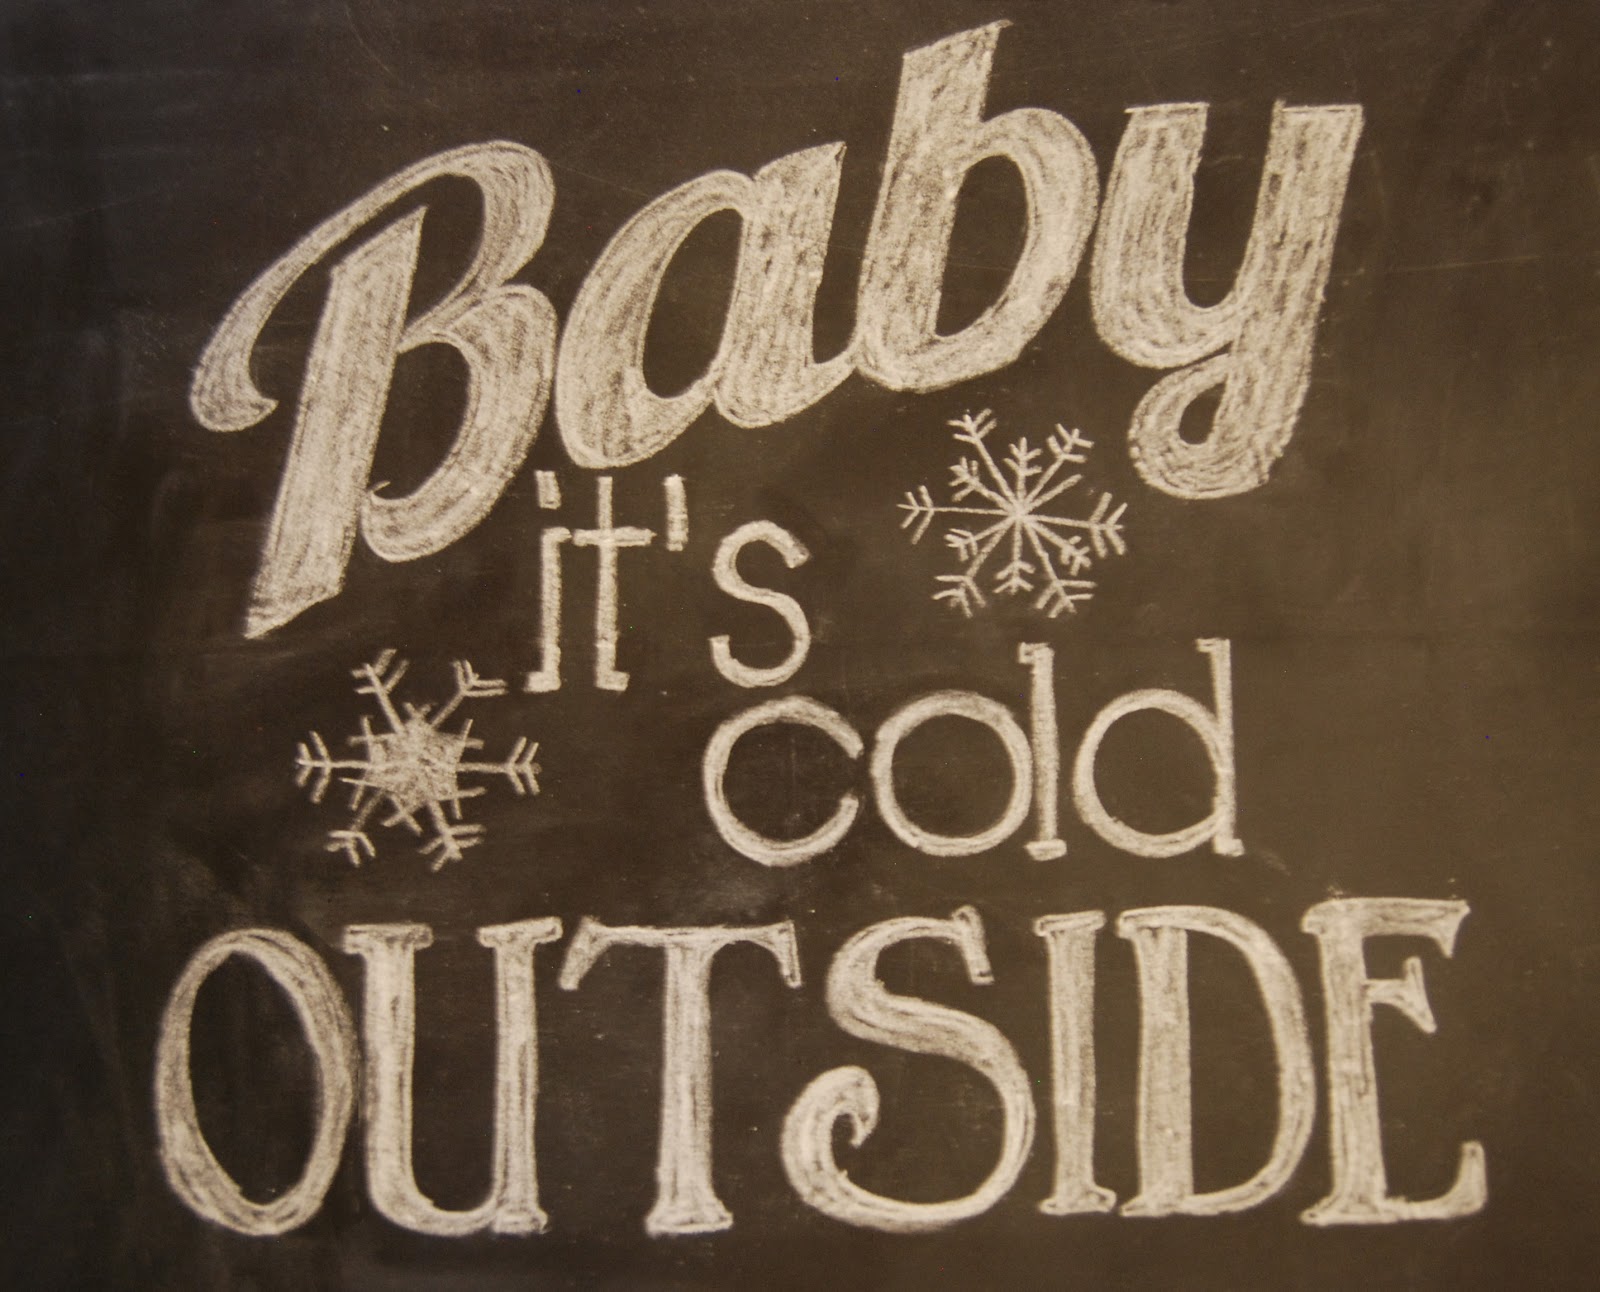
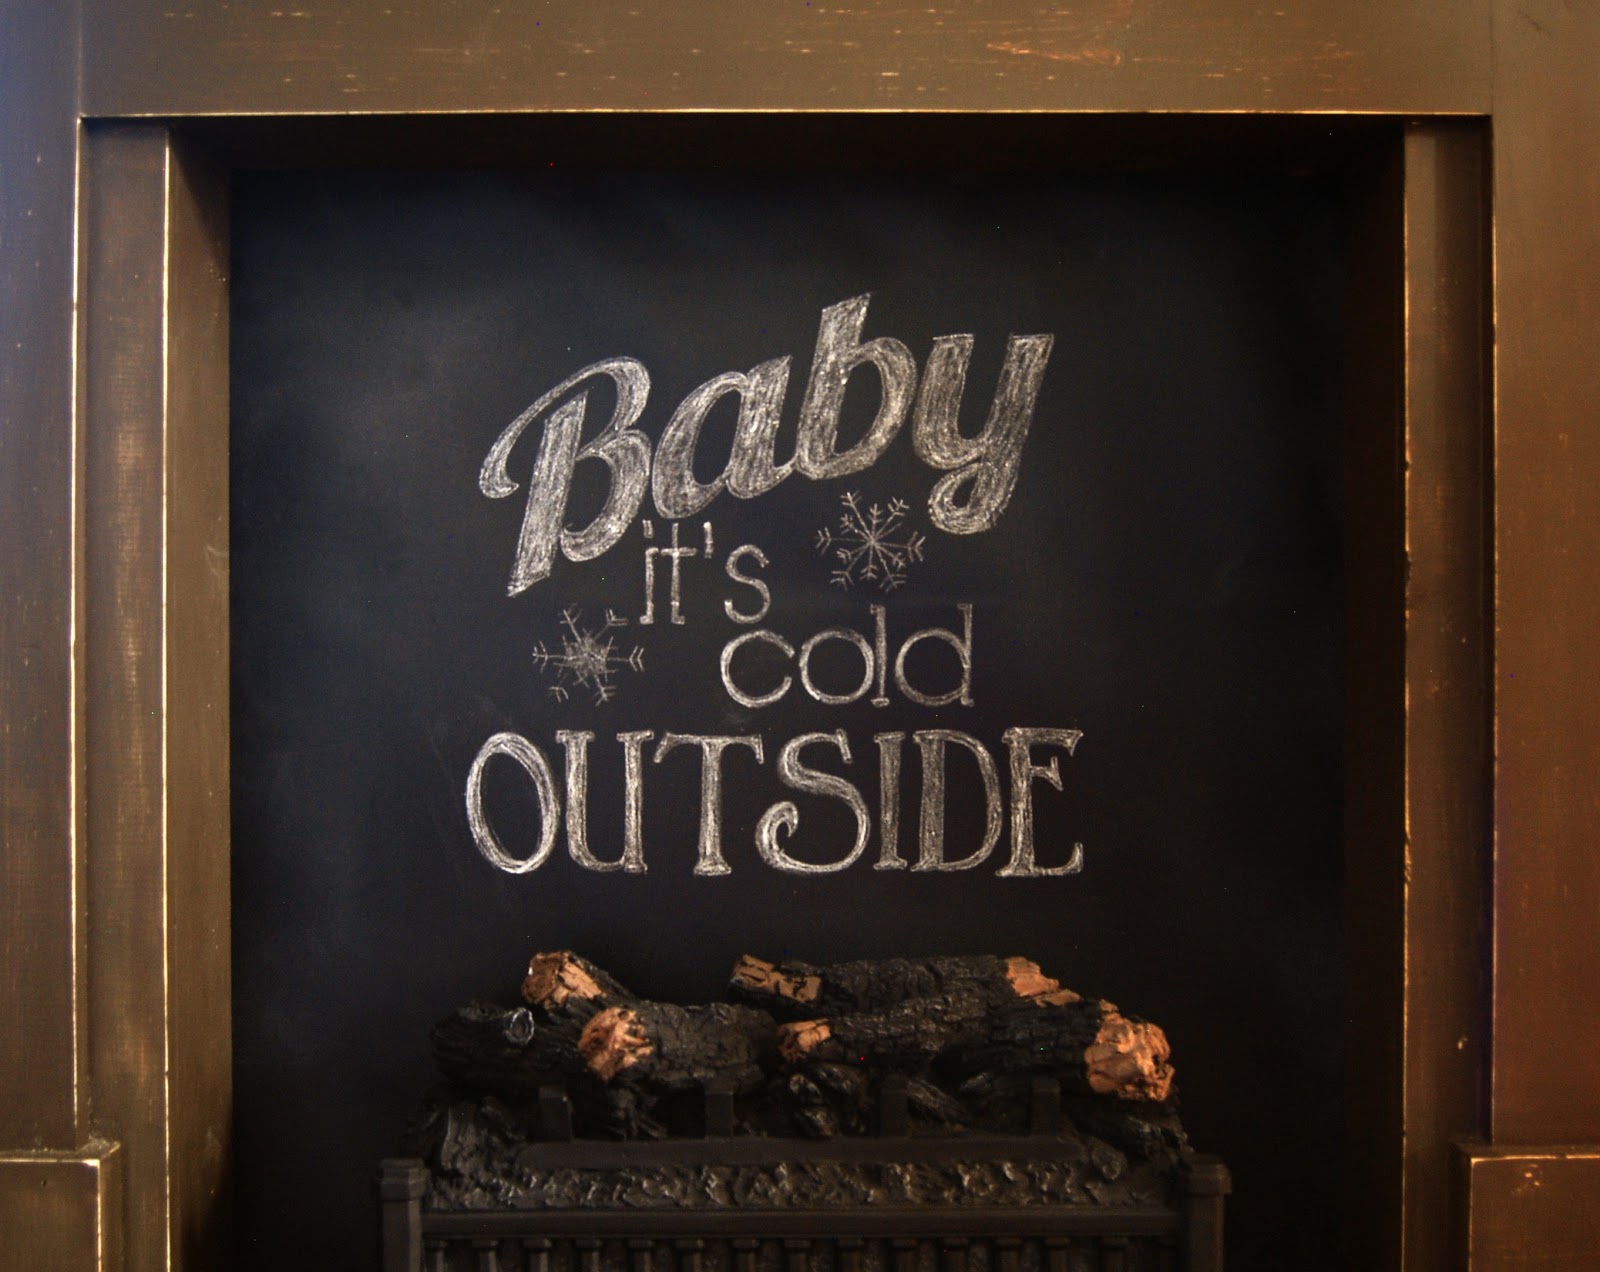
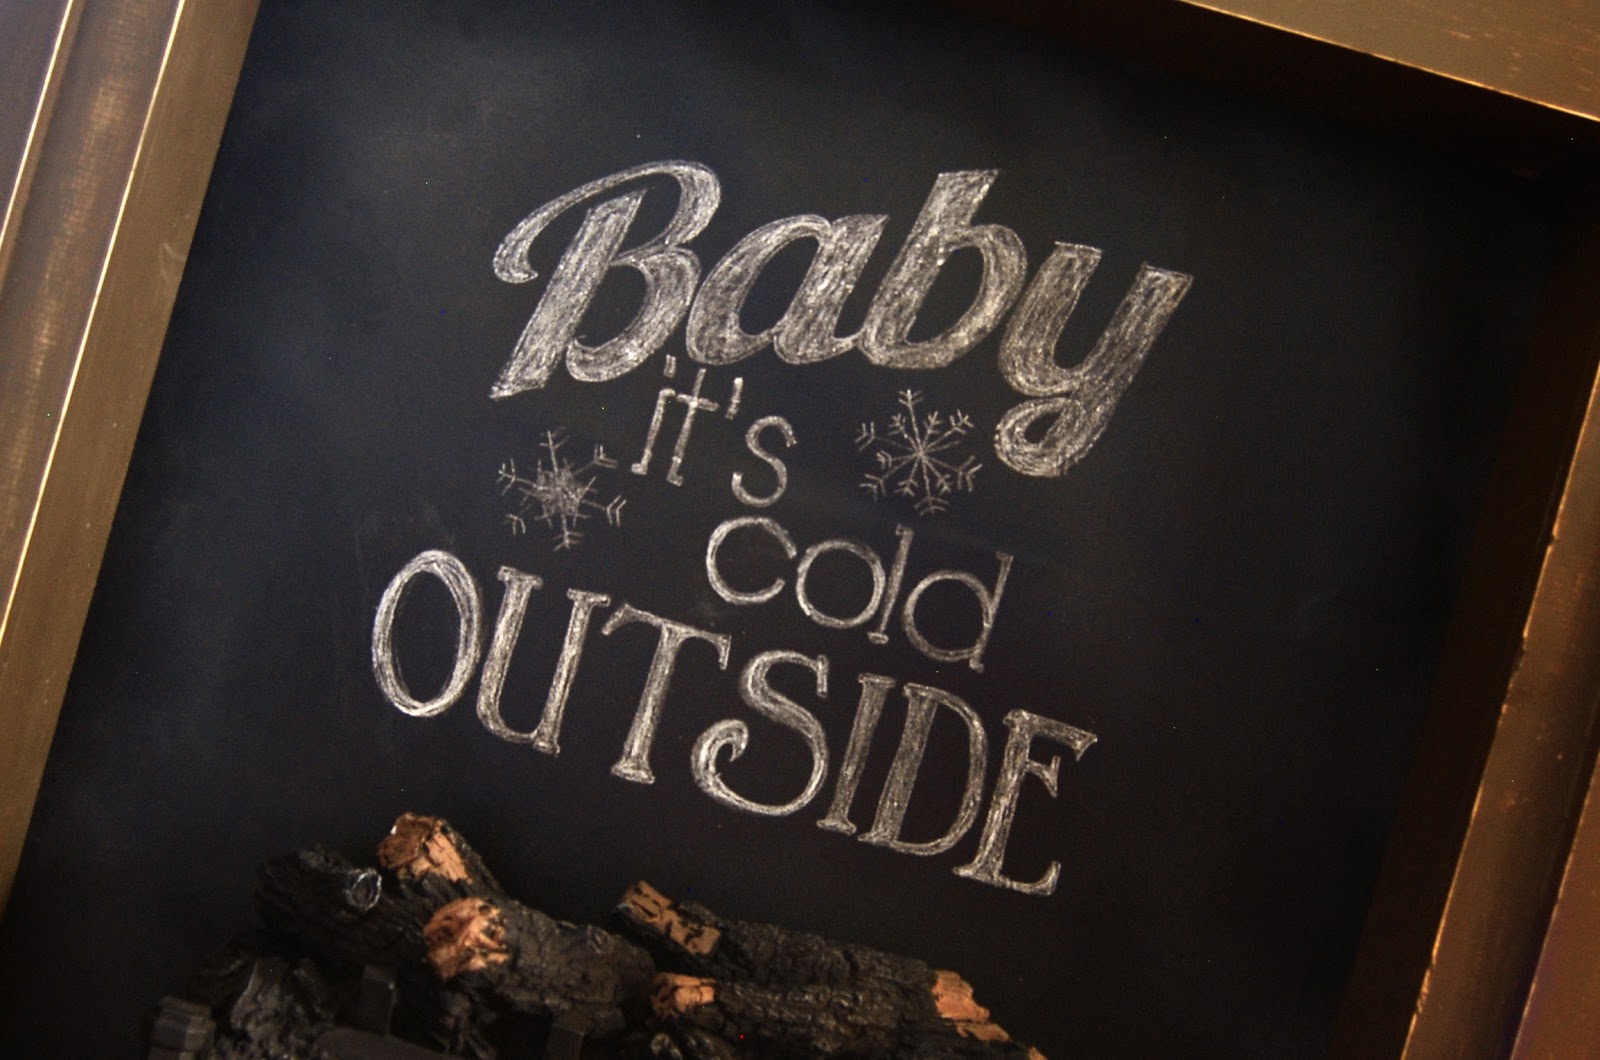
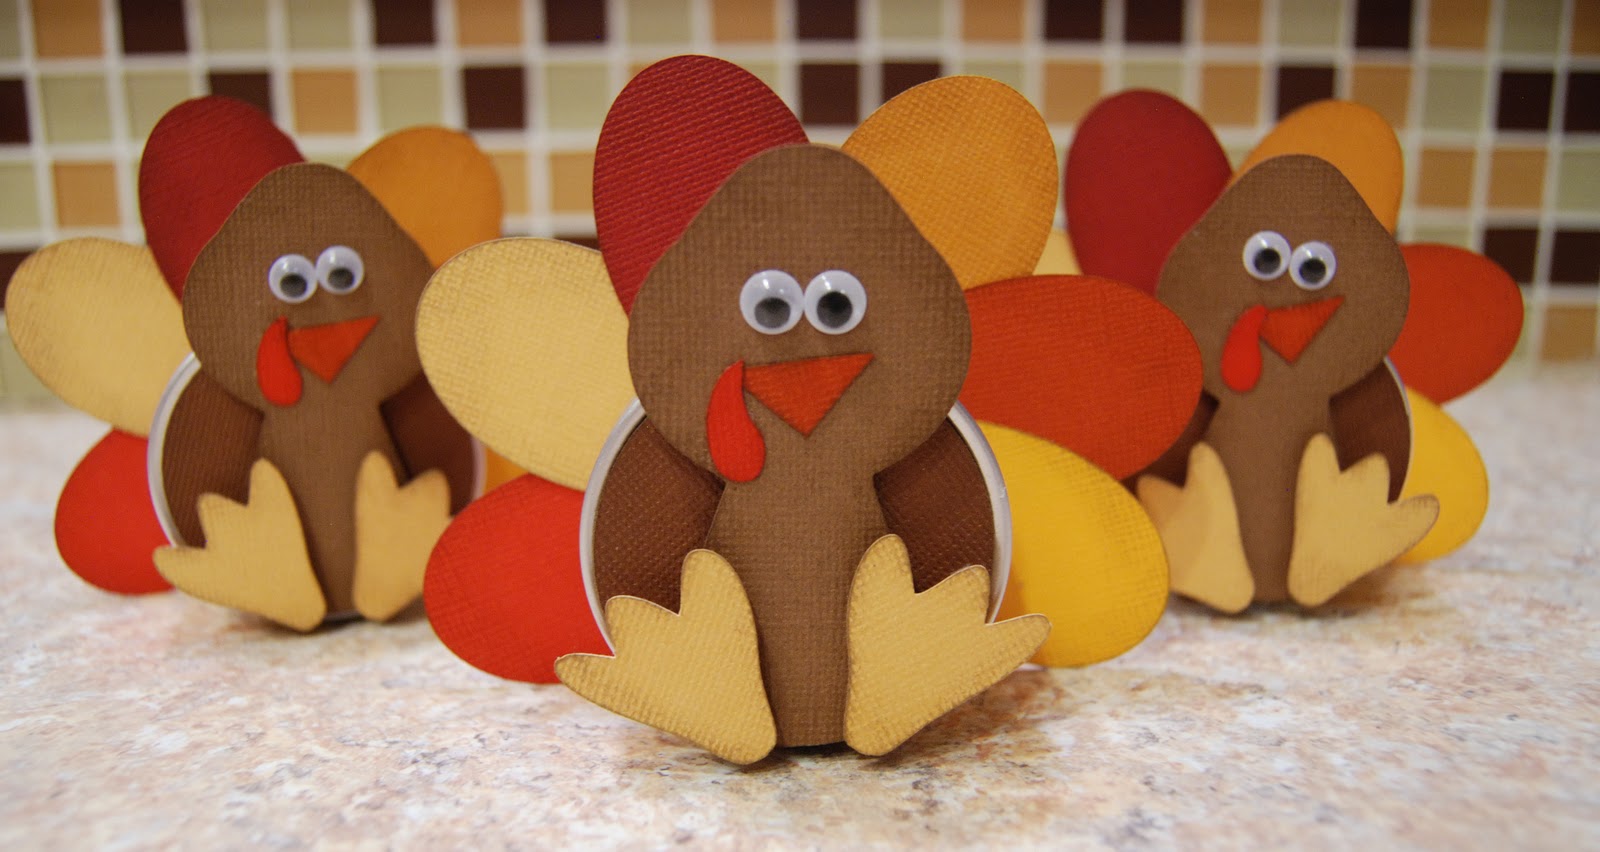
I’ve been learning how to make my digital cutter files available in different file formats, so I can share them with you! Each Friday, I will post a link for a free file for your digital cutter! Downloads will be available for two weeks and are for personal use only. Link is at the bottom of the post. Here is this week’s freebie. Enjoy!


Sorry, this download has expired.
Don’t miss any of my Freebie Files. Sign up to get Burton Avenue updates delivered to your inbox!
Email:
Be sure to check out these great linky parties:
Monday Amaze Me Mon, Craftastic Mon, Craft-O-Manic Mon, Homemaker Mon, Inspire Me Mon, Link Party Mon, Mad Skills, Mad Skills Mon, Made By You Mon, Made With Love Mon, Make Something Mon, Making Mon Marvelous, Making the World Cuter, Market Yourself Mon, Marvelous Mess Mon, Masterpiece Mon, Metamorphosis Mon, Motivate Me Mon, Blog Party, Project Parade, Share Mon, Thrifty Décor Chick, Unwasted Homemaking, Craft Catwalk, Craftaholics Anonyomous Tuesday All Thingz Related, Anti Procrastination Tues, Get Your Craft On, Handmade Tues, Home Stories A to Z, It’s Sew Fun, maze Me August, Nifty Thrifty Tues, Power Of Paint, Show Me What You Got, Sizzle into Summer, Take A Look Tues, Teriffic Under Ten Tues, Time To Shine, Wednesday Anything Goes, DIY Under $5, Hoo’s Got Talent?, Idea Sharing Wed, Linkin’ with Luna, Look What I Made, Penny Pinching Party, Primp Your Stuff Wed, Show And Share, Show And Tell, We Did It Wed, What I Made Wed, What I Whipped Up Wedn, What’s Up Wed, Whatever Goes Wed, Wicked Awesome Wed, Wow Me Wed, Wow Me Wed, Thursday Taylor House Thursday, A Crafty Soiree, Almost Fri Flaunts, Catch A Glimpse Thur, Commercial Break Thursday, Get Your Brag On, Hookin’ Up, Share Awesomness Thur, Show Off Your Stuff, Strut Your Stuff Thur, Catch as Catch Can, Transformation Thur, Under $100 Linky Party, Friday Bacon Time, Delicate Construction, Fabulous Fri, Fantabulous Fri, Feature Your Sassy Sites, Feature Yourself Fri, Flaunt It Fri, Free For All Fri, Fri Favorites, Fri Link Party, Frugal Fri, Frugalicious Fri, Hodgepodge Fri, I’m Lovin’ It Fri, Inspiration Fri, Lovely Crafty Weekend, Remodelaholic Fri, Show and Share Day, Scissors & Spatulas, Weekend Wander, Weekend Wrap-Up, Whatcha Got Weekend, Saturday Check Me Out Sat, Sat is Crafty Day, Sat Nite Special, Sat Spotlight, Show & Tell Sat, Summer Lovin’ Sat Soiree, Sunday Just Something I Whipped Up, Nifty Thrifty Sun, Sister Sister Sun, Sun Showcase, Sun Scoop, Think Pink Sun, You’re So Creative


